2 Compartment Bottle
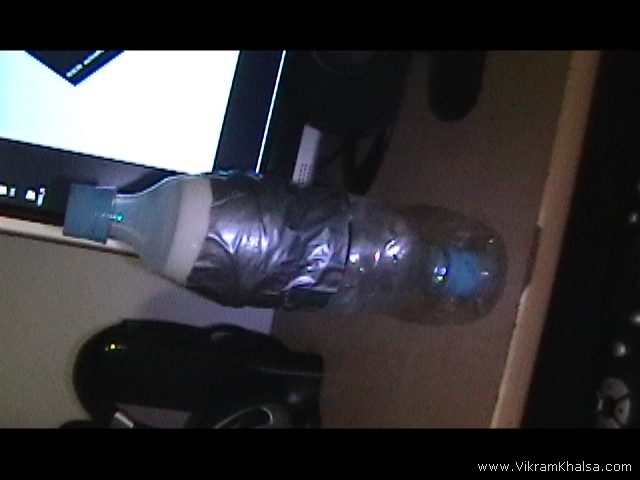
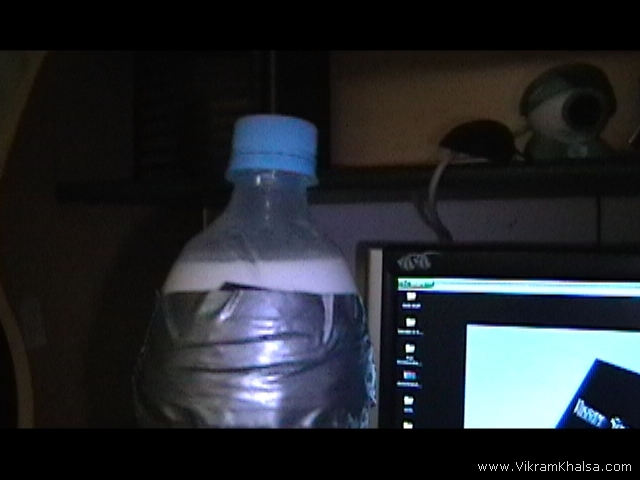
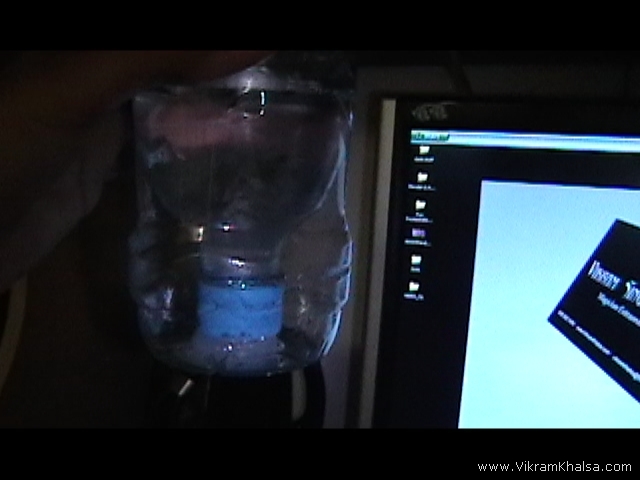
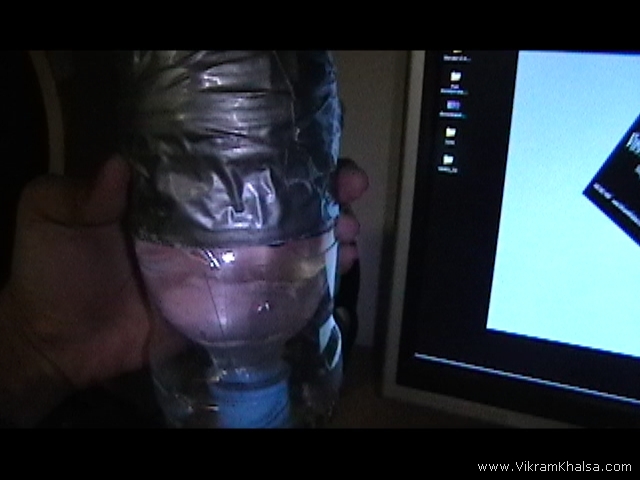
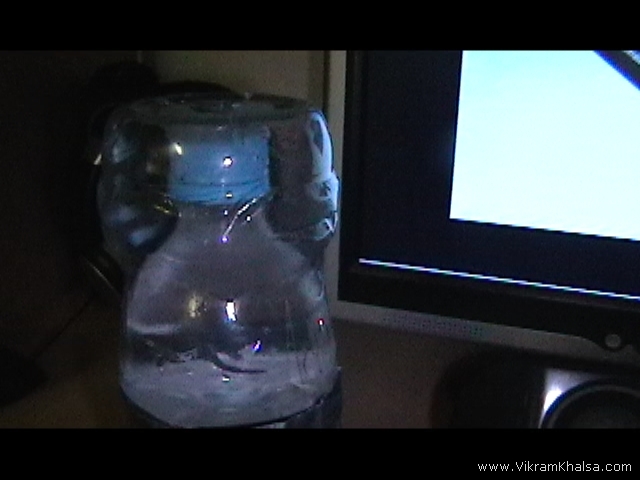
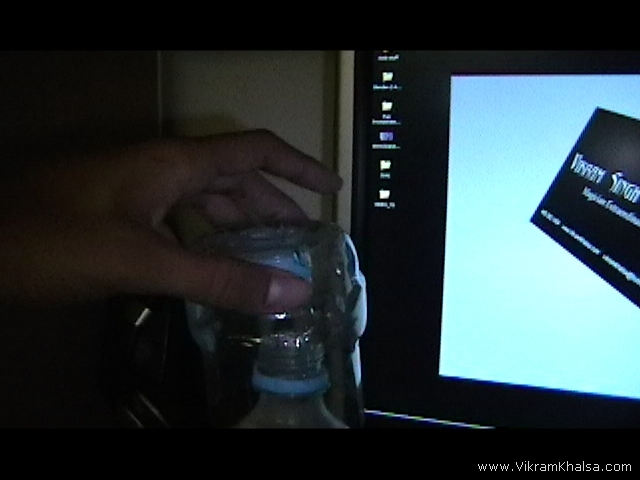
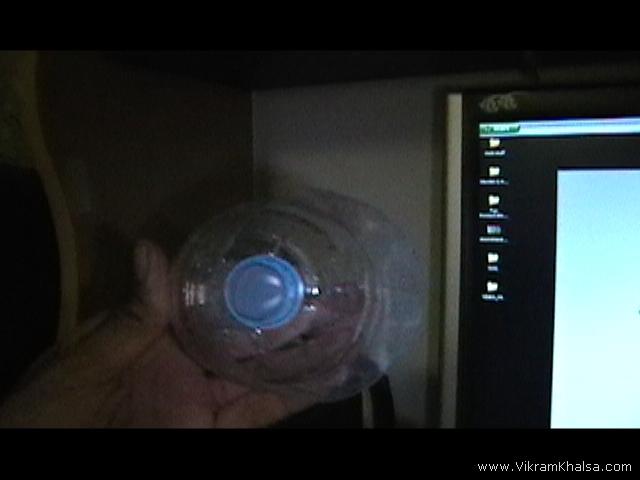
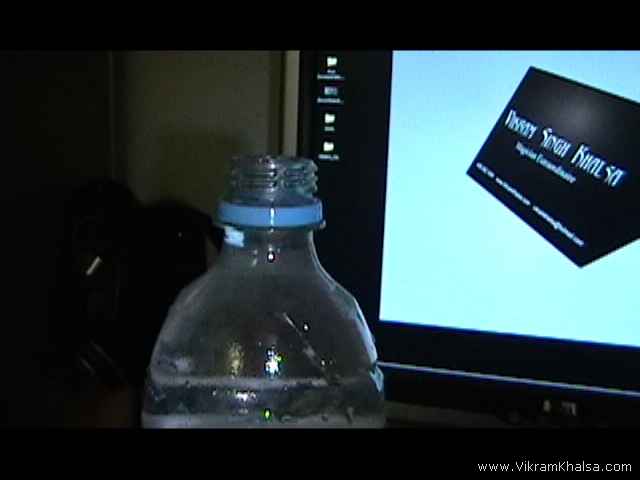
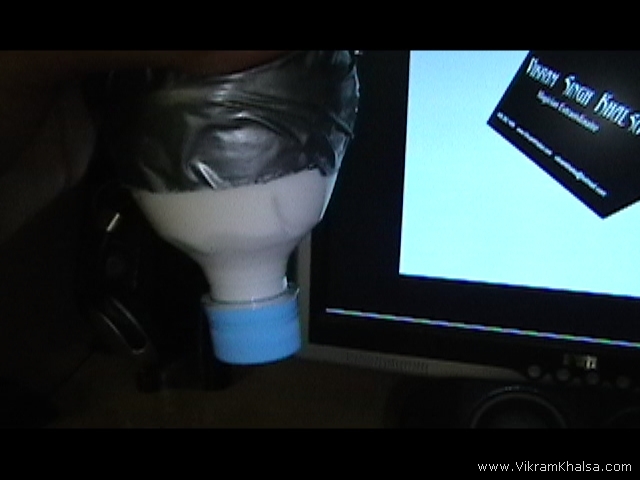
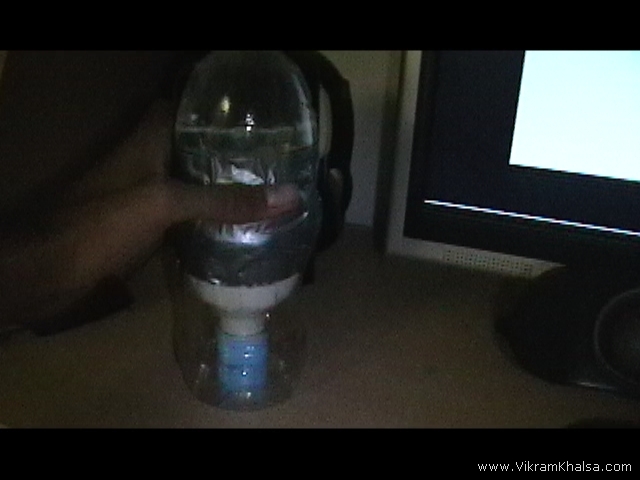
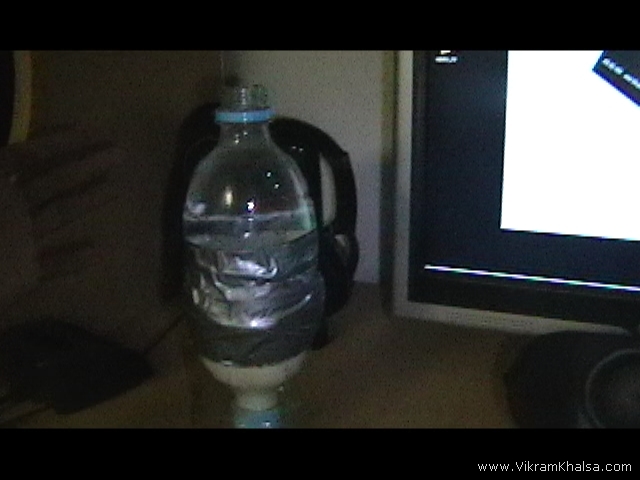
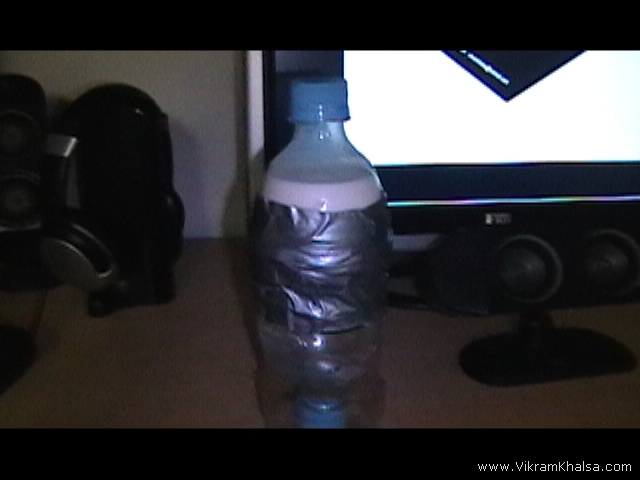
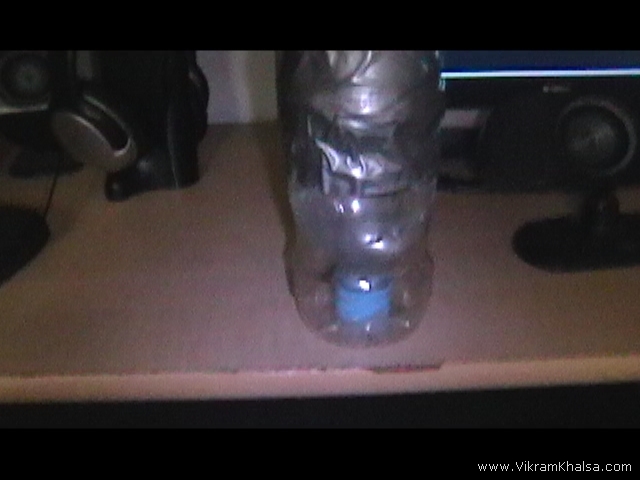
I got this idea a long time ago, where i got 2 mini water bottles and glued their bottoms together. The basic idea was to have a water bottle where you could store 2 different liquids, or a bottle which 2 different people could drink out of. The problem was, it wouldnt stand up, because both sides were the top. Now i thought about that idea again, and re-created the bottle. This time i had to do a lot of bottle cutting and superglueing and waterproof-taping. But i finally completed the invention. It doesn’t look great, but it is still the prototype. I’s is basically like two small bottles stuck together at their bottoms, but this time the one facing down has a bottom base like cover over it. It’s hard to explain, so here are some pictures.. The top compartment has milk, and the bottom one has water..
Posted in Stuffwith 2 comments.
Cell Phone Mod..?
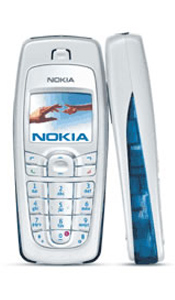
I’ve had my cell phone for a while (I’ve lost quite a few phones in the past), and it started getting old. It had gotten worn out, and I was bored with it. I’m also planning on getting a new one soon. So I started messing around with this one to see what I could do. I thought tne phone looked cooler without the faceplates, so I took them off. But the screen was vunerable without them, and the keypad could easily fall off. I cut a piece of plastic the size of the screen from a clear cd case using my dremel rotary tool, and hot glued it over the screen. Then I hot glued the keypad in place too. But I wasn’t satisfied. So attached a laser light to the phone, powered by the phones battery. I used electric tape to attach it to the phone, and it ruined its overall appearance. So I covered the whole phone with electric tape. Now it was black! and I didn’t have to worry about scratches :p.
Here’s the original phone:
and here it is after:
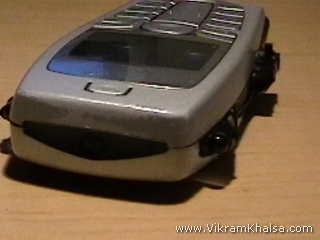
The laser was really bright, and it was fun to mess with people. But after a few days i still wasn’t satisfied. The laser also started getting dimmer, i think the cell phone batter voltage was too high. So i took it all apart, got rid of the tape, and the laser, and all the hot glue. Then I attached 2 flashlight bulbs. I also cut the faceplates so that they would fit on the phone with the lightbulbs there. The pone looked ok, and it provided a useful function.
Here’s how it looked:
I realized that 2 bulbs was more than needed, and it took too much from the battery. So i got rid of one, and decreased the bulk as well.
-Update-11/09/06-
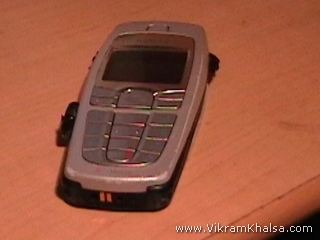
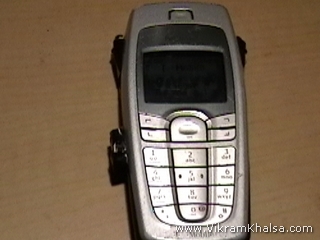
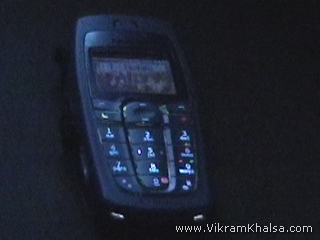
Having the light on my phone really came in useful, because i always had it with me. But after so much dropping and just general wear, tear, and use, it wouldn’t work like it was supposed to. Sometimes I had to hit the phone, or open it and fix wires. It was a loose lazy circuit. Also, the bulb and the switch took away from the overall appearance of the phone. So I decided to try something else. I ripped off the bulb and switch, got rid of the hot glue residue, and decided to start from scratch. I had this little set of battery powered holiday light thingies i got at a clearance sale. They weren’t that bright, but they took less voltage than LED’s… so i decided to try them. I didn’t have any LED’s to try, or else I would have.. I cut out about 6 of these tiny bulbs and started testing. With so many, the light was just as bright. So I got to work cutting and twisting and taping wires. It was a much more complicated circuit this time because I had to wire each light individually. But I finally got it. I also found a smaller switch and hooked that up. These lights are hardly noticeable compared to the old bulb. I have yet to find out how the battery life goes.. Here are some pics:


-Update-11/20/06-
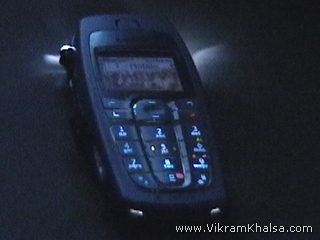
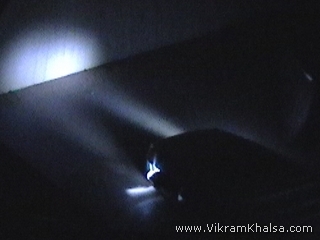
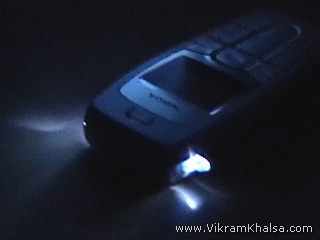
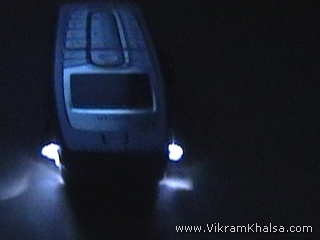
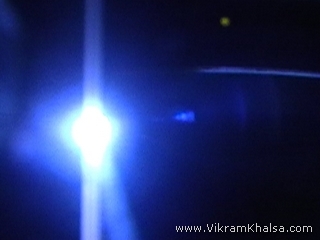
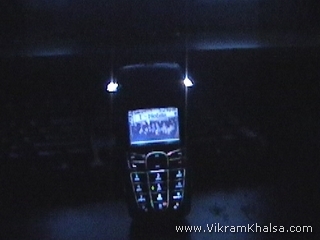
So all was going well, The light was functioning properly, and it was pretty useful. Until I dropped the phone. On it’s side. And 3 little light bulbs broke. So I had a 1 sided flashlight. Which worked fine, but after a while I was once again unsatisfied. So I got rid of them, and decided to use LEDs. I got 2 ultrabright white LEDs and put them on. They give white light, which looks better, and the light points in a direction, it’s not all over the place. So it’s better for a flashlight. They’re also smaller, and had better battery life. I think they are more solid too, less likely to break and longer lasting.
Here are some pictures:


Posted in Stuff and tagged LEDwith 5 comments.
Khanda Cursor
I made these Khanda Cursors a while back, and when I found them I thought I would share them with everyone. You can use them to replace your original boring old mouse pointer. They’re animated too.
Here’s one someone else made, I don’t remember who, but I think I got it off of a forum. Its the actual khanda part (double edged sword) It’s really clean, not animated though.
And here’s one I made that says Waheguru in gurmukhi. It flashes, and I had to make the writing really small so I could make it a cursor. I’d recommend you use it to replace the hourglass waiting cursor.
Here’s a preview with the Khanda Cursor 3 and the flashing Waheguru one:
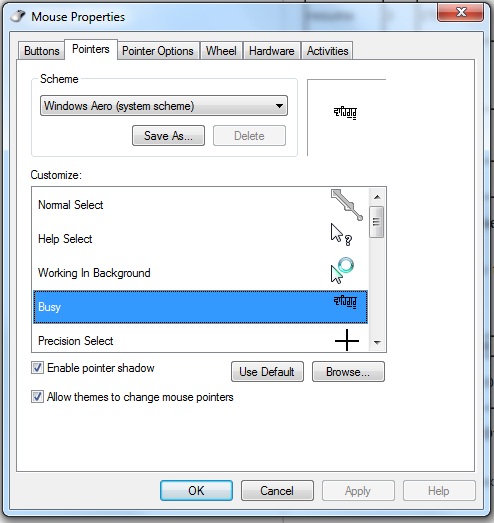
Click on pointers
Double click on Normal Select
Find the downloaded file and select it
Click Apply
Done!
———-Update 6/02/2010 —————
It was recently brought to my attention that some people get weird characters on their screen when they click on the file.
For those people who are having trouble downloading the file:
Right click on the download link and choose “Save Target As” or “Save Link As”
Now try following the same instructions. IF the file saves as a web page, firefox document, or ends with .html, here is what you need to do:
Right click the file after you have saved it and delete the .html and put .ani. For Khanda cursor 3 put .cur – This should solve any problems. Sorry for posting this so late and feel free to contact me if you need more help.
Posted in Stuffwith 13 comments.
Custom Boot Screen
My computer boots with Windows XP FBI Edition.
Look:
Well, actually, there’s no such thing. I’m sure most of you know that. So what did I do?
There’s this really cool program BootSkin that allows you to change from your old windows xp boot screen to one of the built in images. You can also download hundreds of boot skins from the online directory. You can even make your own, it’s not too hard, that’s what i did. The website also offers software that enables you to have a custom login screen too. Yeah, so check it out.
Posted in Stuff and tagged customwith no comments yet.